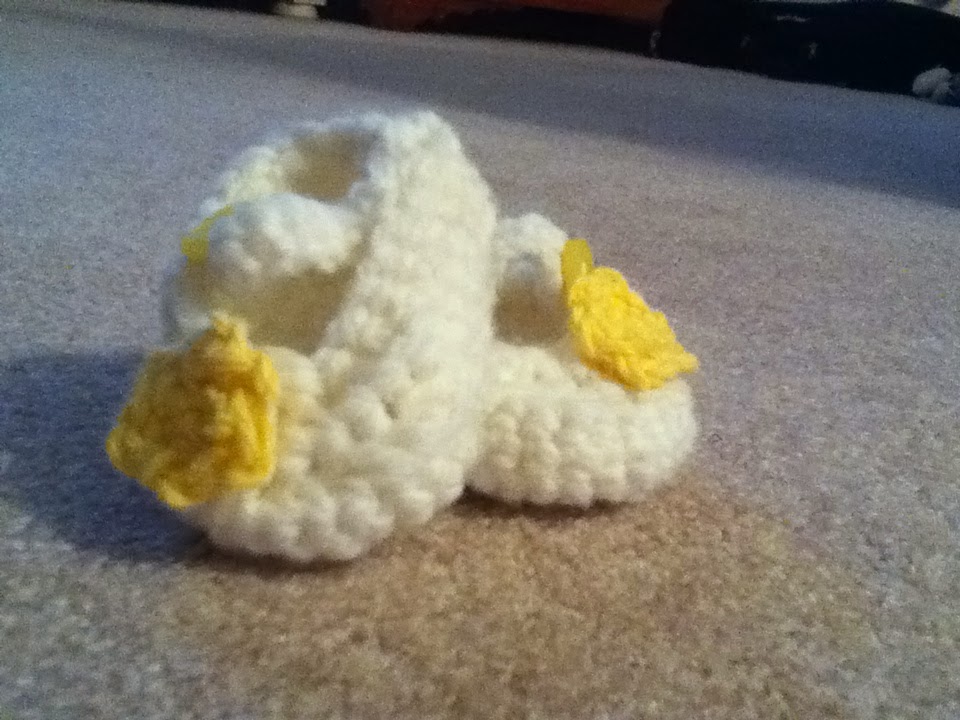
Supplies:
v
Size
F crochet hook
v
Sewing
needle
v
Sewing
thread
v
Two
buttons to match your thread color
v
Yarn
of your choice
Abbreviations
SC: single crochet
DC: double crochet
SS: slip stitch
HDC: half double crochet
BLO: back loop only
Ch: chain
Round
1: To
make the base of the shoe, ch 12. DC in
4th chain from the hook. 4 DC
in the same stitch. DC in the next 7
stitches, and 5 DC in the last stitch.
Working
down opposite side of chain, DC in last 8 stitches. Join with SS in 3rd chain of
beginning chain.
Round
2: Ch 3, Dc in same stitch. 2 DC in each of next 5 stitches, Dc in next 8
stitches, 2 DC in each of the next 6 stitches, DC in last 8 stitches. Join with SS in 3rd chain of
beginning ch 3.
Round
3: SS in next stitch. SC in next 7 stitches. SS in next stitch. Turn.
SC in next 4 stitches. Skip next
stitch, and SC in next 2 stitches.
Turn. SC in next 7 stitches, counting
your first stitch. Turn. SC in next 4 stitches, skip next stitch, and
SC in next 3 stitches. You should have 6
stitches. Turn. SC in next 6 stitches. You should still have 6 stitches. Fasten off and weave in ends. You have now created the back of your shoe.
Round
4: Next, attach your yarn to the 8th
stitch from the edge of the back of your shoe that we made in round 3. Once your yarn is attached, SC in BLO for the
next 17 stitches.
Turn. Chain 1.
SC in the next 7 stitches. Skip
nest stitch, and SC in next 8 stitches.
Turn. Ch. 1. SC in next 4 stitches, skip next stitch, SC
in next stitch, skip next stitch, SC in next 8 stitches. Turn.
Ch 1. SC in next 2 stitches, skip
next stitch, SC in 2 stitches. Skip next
stitch. SC in next 6 stitches. Ch 1.
Turn. DC in next 2 stitches, HDC
in next stitch, SC in next stitch, skip next stitch, SC in next stitch, HDC in
next stitch, and DC in last 3 stitches.
Now
SS to the opposite side, and the whole way down the top, bringing the two
pieces together. Fasten off and weave in
ends.
Round
5: Attach yarn to the top edge of the back of
your shoe. If you are doing the left
foot, attach yarn to the right side of the back. Do the opposite for the right foot. You are now going to be making the strap.
Ch
18. Fasten off.
Using
your thread and sewing needle, attach button to the end of your strap.
Now
take a 7 or 8 in. piece of yarn. We are
going to make a loop for the button to go through. Attach it on the opposite side of your
strap. Insert crochet hook into
indicated stitch. Pull yarn
through. Insert your hook into the
stitch below it. Pull yarn through,
leaving a loop big enough for your button to fit through. Tie a knot, but hold loop so that it does not
pull through. Fasten off.
Round
6: Taking a different color yarn that matches
your other colors, repeat rounds 1-2.
Attach
to the bottom of the shoe, creating a thicker sole. Use a piece of yarn and a yarn needle to sew
it on.
Fasten
off and weave in ends.
Note:
You don’t have to put the second sole on, but it looks a lot better with it, and
it keeps the shoe’s shape. Here is an
optional flower if you would like to add it.
Here is without the flower.
Flower: Ch 3.
SS into 1st stitch, creating a small circle. Ch 3.
*SC into same stitch. Ch 3. SS into next stitch. Repeat from *.
SS
into 1st stitch. Fasten
off. Attach to shoe.
Enjoy
Note: You may not take this pattern and sell it.